Line
Use the Line layout element to add horizontal and vertical lines anywhere to the page. The Line layout element can be added to any report section (i.e. header, detail or footer).
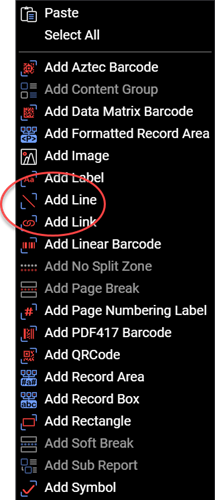
Figure 1. Select Add Line from the context menu to add a Line layout element.
Refer to designer-usersguide-examples for a GitHub example.
To add a line, select the Line element from the context menu and then move it at the desired page location. Then resize and position the line using your mouse or by manually changing the values in the properties window.
It is much easier to change a line's property values rather than attempting to exactly position the line.
Change a line to be solid, dotted, dash, etc. by selecting the desired style from the properties window. To see the acceptable values, clear solid and a drop-down list of valid choices appears.
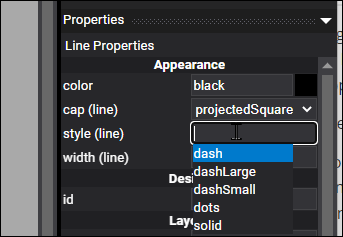
Figure 2. Valid values for the style property.
If you enter an incorrect value for style, then you are alerted and the value is returned to solid.
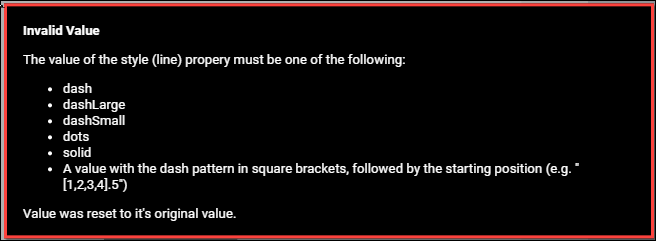
Figure 3. Alert shown when entering an invalid value for style.
The default line style is solid.
Change a line's thickness by changing its width value property.
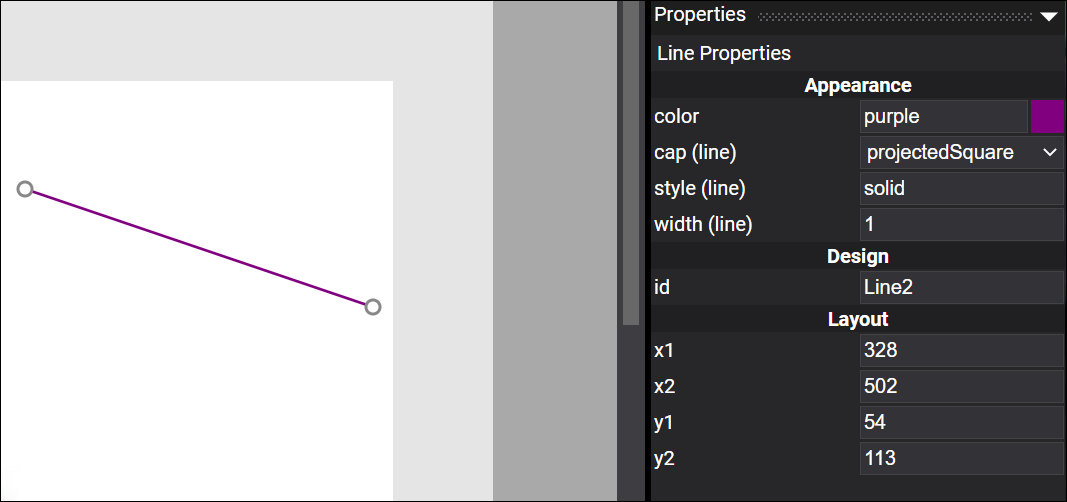
Figure 4. A Line layout element and its properties.
If you place a Line or Rectangle below a expandable RecordBox, RecordArea, or FormattedRecordArea, then the line will appear below the expanded field in the correct position. The Line or Rectangle bottom must be at or below the expandable element. A rectangle will resize with the row's height.
Properties
| Property | Value | Description |
|---|---|---|
| cap | butt, projectedSquare, rounded |
A value indicating the cap style to end the Line. |
| color | See Colors Users Guide topic. | A value indicating the color of the Line. |
| style | solid, dash, dashLarge, dashSmall, dots, custom |
A value indicating the style of the Line. |
| width | numeric | A value indicating the width of the Line. |
| id | text | A value indicating the programmatic identifier of the Line. |
| x1 | numeric | A value indicating the starting X coordinate of the Line. |
| x2 | numeric | A value indicating the ending X coordinate of the Line. |
| x1 | numeric | A value indicating the starting Y coordinate of the Line. |
| x2 | numeric | A value indicating the ending Y coordinate of the Line. |